7 steps to build a 3D ready kavelpaspoort for Dutch municipalities
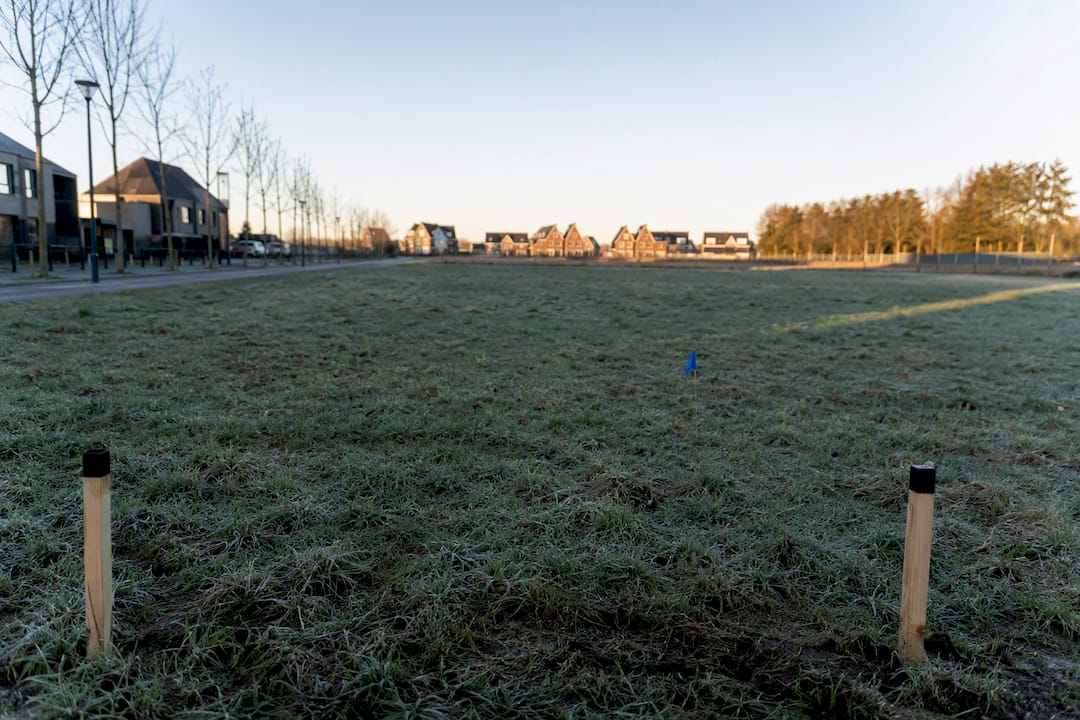
A kavelpaspoort bundles a plot’s cadastral data, planological rules and site constraints into one dossier used for sales, gronduitgifte and CPO briefings. It is not a legal requirement anywhere in Dutch planning law, but municipalities, developers and self-build groups rely on it to keep transactions transparent. If you don’t have one yet, start a data audit today: pull the cadastral reference from Kadaster and the applicable rules from Omgevingswet.
TL;DR:A kavelpaspoort must include core cadastral data, planological rules, technical site details, and risk notes to quickly assess buildability.It should be compiled step by step, verifying parcel references, extracting current rules and data, and updating all maps and sources with date stamps prior to use.Using 3D GIS tools like 3D Cityplanner can automate data pulling, generate models, and include visual plan variants, reducing errors and preparation time.Standardizing the facts table and attaching source-labeled maps and plans improve clarity and assist non-expert stakeholders in understanding build constraints.Municipalities issue official paspoorten during plot sales, but private developers and CPO groups should enhance them with technical and soil data for thorough due diligence.
Table of Contents
- What should a kavelpaspoort maken checklist include?
- How do you compile a kavelpaspoort step by step?
- Turn the paspoort into a 3D-ready dossier
- What core facts table should a kavelpaspoort template use?
- Who issues a kavelpaspoort and what should CPO groups expect?
- What experienced planners get wrong about kavelpaspoorten
- Speed up paspoort assembly with 3D Cityplanner
- Sources
- FAQ
What should a kavelpaspoort maken checklist include?
A kavelpaspoort exists to answer one question fast: can you build what you want on this plot, and what stands in the way? The core fields come straight from the cadastral and planological dataset that defines a plot: cadastral ID, plot area, ownership status, bestemming or function, bouwvlak (building envelope) and maximum building heights. Leave any of these out and a buyer or architect has to chase them down separately, which slows every transaction that follows.
Beyond the core fields, a well-built paspoort covers:
- Cadastral basics — parcel number, registered area, current ownership and any erfdienstbaarheden (easements) attached to the title.
- Planological rules — bestemming, bouwvlak dimensions, maximum height and roof form, and which regime (omgevingsplan or transitional bestemmingsplan) governs the plot.
- Technical due diligence — utility connection points, road access, soil quality and an AHN-derived height profile of the site.
- Risk and impact notes — noise zones, Natura 2000 proximity, flood risk, archaeological expectation value, parking norms and any sustainability requirements.
Municipalities issuing a paspoort for a planned sale usually supply the cadastral and planological fields as fixed data, leaving technical and risk items to the buyer’s own due diligence. Developers assembling an informative paspoort for a CPO group or private sale typically go further, adding utility mapping and soil results up front, because that group has no in-house planning department to chase the gaps later.
How do you compile a kavelpaspoort step by step?
Treat this as a workflow with checkpoints, not a document you write in one sitting. Skipping a checkpoint is how outdated soil data or an expired planning rule ends up in a document a buyer signs against.
- Fix the kadastrale aanduiding. Confirm the parcel number and boundaries directly through Kadaster before touching any other source, since every later lookup depends on this reference being exact.
- Pull geometry and area from Kadaster. Record the registered surface area and check it against the cadastral map extract, not a developer’s own drawing.
- Extract the planological rules. Go to omgevingswet.overheid.nl and quote the relevant omgevingsplan clause verbatim, including its article number, since both omgevingsplan and residual bestemmingsplan rules can still apply depending on the transition status of the area.
- Check Bodemloket and Risicokaart. Note contamination history, saneringsstatus and any flood, high-voltage or pipeline risk flagged for the parcel.
- Collect AHN height data and utility points. Pull a height slice from AHN and mark where gas, water and electricity connections enter the plot.
- Translate rules into buildable numbers. Convert the bouwvlak and height limits into a footprint, BVO (gross floor area) and storey count, then sketch two simple plan variants to test whether the numbers actually work on the ground.
- Assemble the document. Combine a map extract, a core facts table, the planological narrative, the influences section and all attachments into one file, then export it as a paginated PDF.
Pro Tip: Date every screenshot and map extract you paste into the paspoort. Portal data changes, and an undated Risicokaart image from eighteen months ago can quietly mislead a buyer who assumes it’s current.
Turn the paspoort into a 3D-ready dossier
A static PDF answers what the rules say. A 3D model answers what those rules actually allow you to build, and that second question is what stakeholders usually ask next. Automated GIS pulls from a platform like 3D Cityplanner reduce the risk of quoting a stale height limit or an outdated parcel boundary, because the data comes straight from current map layers rather than a manually copied screenshot.
Once the bouwvlak and height limits are locked in, you can:
- Generate a simple massing model from the bouwvlak geometry and run a sunlight or visibility check to show how a new building sits against neighbouring properties.
- Export maps, development capacity KPIs and plan-variant images directly into the paspoort PDF, replacing static screenshots with dated, source-linked graphics.
- Compare two or three plan variants side by side rather than describing them in text alone.
Pro Tip: If you’re compiling paspoorten for more than a handful of kavels, a manual approach multiplies the same errors across every document. A digital-twin workflow pays off fastest when you’re running a municipal portfolio, a multi-plot development, or briefing a CPO group that needs to see the options rather than read about them.
What core facts table should a kavelpaspoort template use?
A paspoort works best as four sections in fixed order: a front page, a core facts table, the planological narrative, and an attachments section. Buyers and permit reviewers scan documents; a predictable structure means they find what they need without reading the whole thing.
The front page carries a map extract, the kavelnaam or plot reference, the headline metrics and a one-line verdict on buildability. The core facts table should look something like this:
| Field | What to record |
|---|---|
| Plot area | Registered surface area from Kadaster |
| Cadastral reference | Full kadastrale aanduiding |
| Bestemming | Function under the current omgevingsplan |
| Bouwvlak | Building envelope dimensions and position |
| Maximum heights | Roof and ridge height limits, storey count where specified |
| Utilities | Connection points for gas, water, electricity |
| Key constraints | Flood risk, soil status, archaeological expectation value |
The planological rules section should quote the omgevingsplan clause verbatim with its article number, as recommended in practical drafting guidance, rather than paraphrasing it. The attachments section holds the AHN height extract, Bodemloket summary and any plan-variant images, each labelled with its source and retrieval date. Example municipal paspoorten show how this structure holds up even for a single-plot sale, where price and surface area sit alongside the building constraints.
Who issues a kavelpaspoort and what should CPO groups expect?
Municipalities publish an official paspoort when they’re selling plots directly, typically as part of the kopersinformatie for a planned development. Developers and CPO facilitators produce an informative version for private sales or self-build groups, drawing on the same sources but without municipal sign-off attached.
- CPO groups applying for a paspoort should expect municipalities to request supporting documents on group composition and building intentions before assessing suitability, a step several municipalities build into their CPO process.
- Review windows vary by municipality, but the paspoort itself is never the legal test. The omgevingsvergunning remains the document that actually authorises construction.
- Common delays come from mismatched cadastral references, missing erfdienstbaarheden and soil data that’s aged past its usable window, all of which a careful compilation step catches before submission.
What experienced planners get wrong about kavelpaspoorten
The paspoorten that work best aren’t the most detailed. They’re the ones where a non-expert stakeholder, reading it for the first time, immediately understands what’s buildable and what isn’t. A dense fifteen-page document with every regulation quoted in full often achieves the opposite of transparency: it buries the one constraint that actually matters.
The recurring mistakes are predictable. Stale Bodemloket data gets carried over from an earlier project. Erfdienstbaarheden get missed because nobody checked the full cadastral extract, only the boundary map. Maps get pasted in without a scale bar or a date, so nobody can tell if they’re current. The fix is procedural: standardise the core facts table across every paspoort you produce, and attach at least one visual plan variant so a stakeholder without planning training can see, not just read, what the bouwvlak permits.
— Anne Dullemond
Speed up paspoort assembly with 3D Cityplanner
Compiling a kavelpaspoort by hand across Kadaster, omgevingswet.overheid.nl, Bodemloket, Risicokaart and AHN works for one plot. It becomes a bottleneck the moment you’re handling a municipal portfolio, a multi-plot development, or a CPO group that needs to see options rather than read a rules summary. 3D Cityplanner is a browser-based alternative to piecing this together manually: it pulls current GIS layers automatically, generates massing from a bouwvlak in minutes, and runs sunlight and visibility checks that would otherwise need separate software.
For teams producing paspoorten regularly, that means fewer stale exports and fewer stakeholder meetings spent explaining a rule instead of showing it. The platform exports maps, development capacity KPIs and plan-variant images directly into the format a paspoort attachment needs. If you’re weighing up whether a digital-twin workflow fits your caseload, the free trial entry point is the fastest way to test it against your own next kavel.
Sources
Start planological checks at omgevingswet.overheid.nl, confirm boundaries via Kadaster, and screen risk through Bodemloket and Risicokaart. Pull elevation data from AHN and test buildability visually with 3D Cityplanner.
- Kavelpaspoort — Dutchplanners
- Kavelpaspoort maken: wat erin hoort en hoe je het opzet — Percelio
- Kavelpaspoort kavel 1 - Gemeente Het Hogeland
FAQ
Is a kavelpaspoort legally required in the Netherlands?
No. It is not a statutory document; the omgevingsvergunning remains the legal test for what you can build, but a kavelpaspoort supports transparency during sales and CPO briefings.
What is the difference between a municipal and developer kavelpaspoort?
Municipal paspoorten usually accompany a planned sale and carry fixed cadastral and planological data, while developer or CPO-facing versions add technical due diligence like utilities and soil results.
Which source should I check first when making a kavelpaspoort?
Start with the kadastrale aanduiding through Kadaster, since every later lookup, including the omgevingsplan check, depends on having the exact parcel reference confirmed first.
Can 3D Cityplanner help build a kavelpaspoort?
Yes. 3D Cityplanner can pull current GIS data automatically and generate massing, sunlight and visibility outputs that attach directly to a paspoort’s visual sections, which speeds up dossiers covering multiple plots.
How often should Bodemloket and Risicokaart data be refreshed in a paspoort?
There’s no fixed statutory interval, but best practice is to date every extract and re-check both portals before a transaction closes, since contamination status and risk mapping can change between compilation and sale.


